I don’t know about you, but the SWMBO in my life has made me a better woodworker. With a singular focus on form and function, she asks me to make things. She seems naively unaware of the first-time joinery techniques I’ll have to tackle. And therein laid the benefit of her gentle reminders that “a corner pantry would make that area look really nice.”
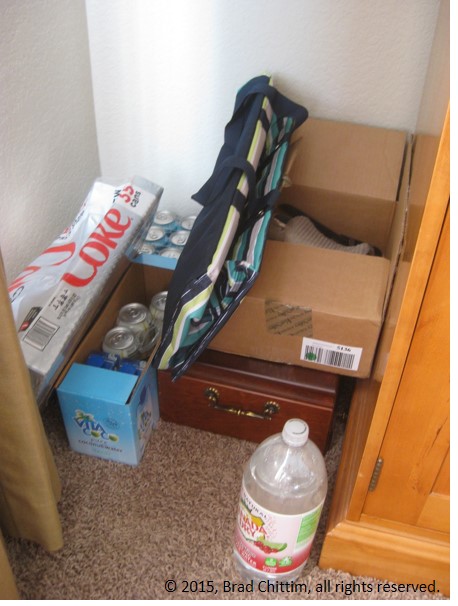
She had a point. This is what the space looked like on a good day.
But, because I’d never built a piece of furniture before, I procrastinated. I came up with a design, scoured my books for joinery options, carcass-building methods and other basic furniture trade knowledge to complete my assignment.
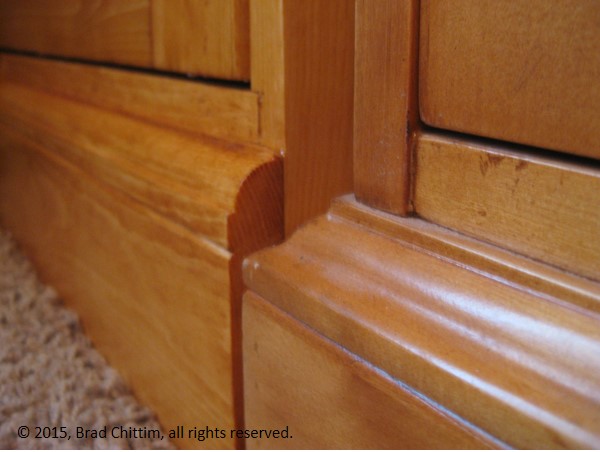
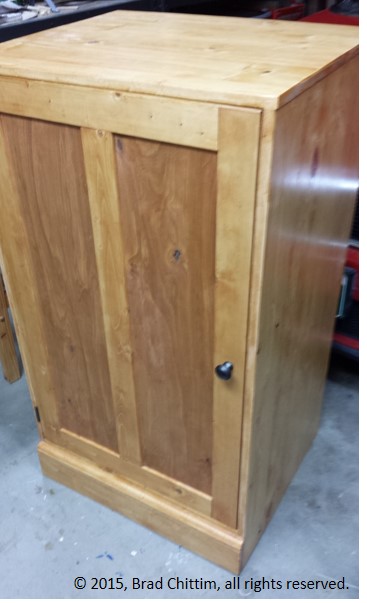
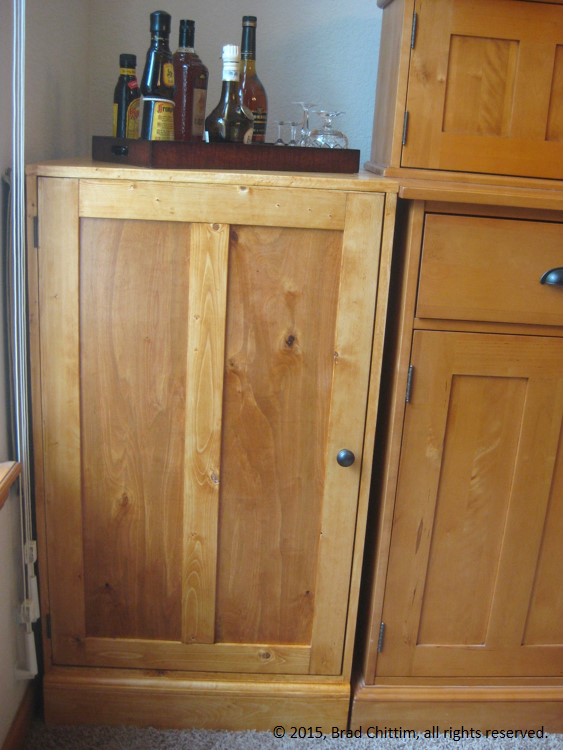
My criterion were simple: the pantry had to match the adjacent buffet in look, feel and color.
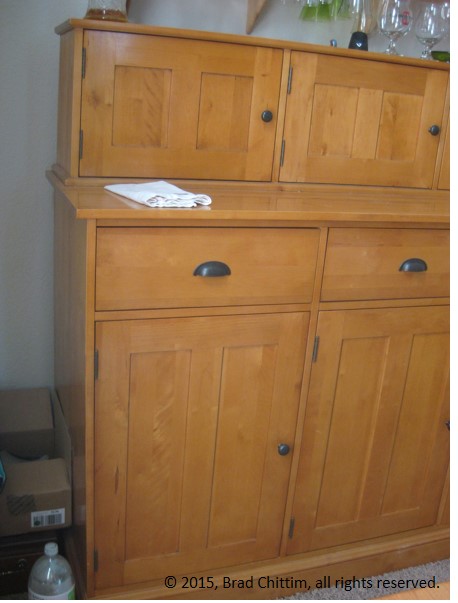
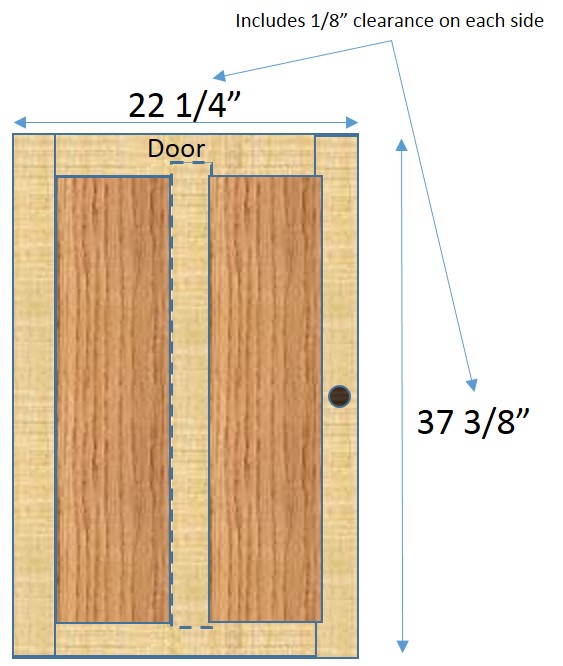
Apparently that’s pretty important to chicks. In practice that meant having the piece sit about the same height, use frame-and-panel door construction and imitate the floorboard and moulding on the buffet.
It also meant using pine panels from a big-box store because their cost was in line with what we were willing to lay out.
Construction
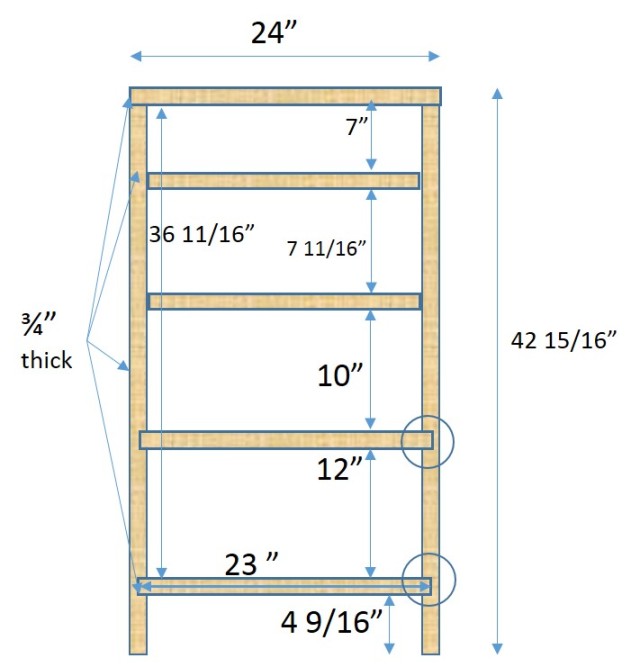
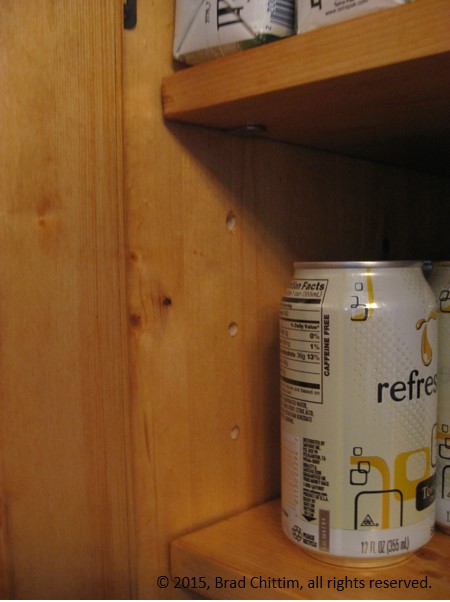
The construction was straight forward. The bottom shelf joined to the sides via through dados and the middle shelf joined with a stopped dado. The two top-level shelves sit on shelf pins in holes drilled 2” apart via a template I created.
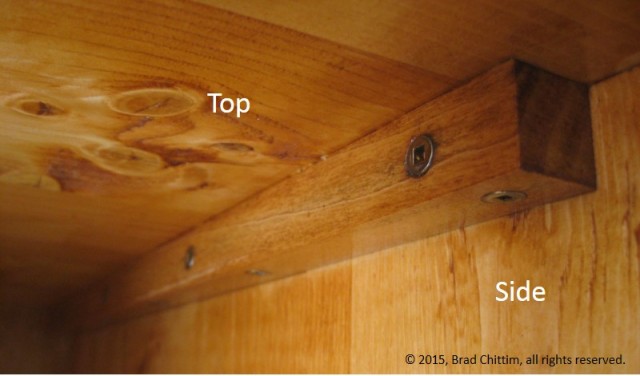
A ¼” plywood back slides into grooves routed into the top and sides. The grooves are stopped on the side bottoms to hold the back in place. The top is affixed to the carcass using ¾” x ¾” maple strips.
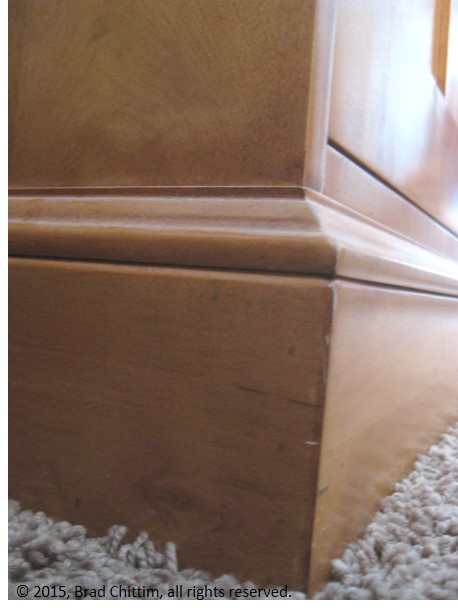
Baseboard Moulding
I took measurements of the adjacent buffet’s baseboard moulding.

However my attempts failed to mimic it using my inventory of moulding and rabbet planes.
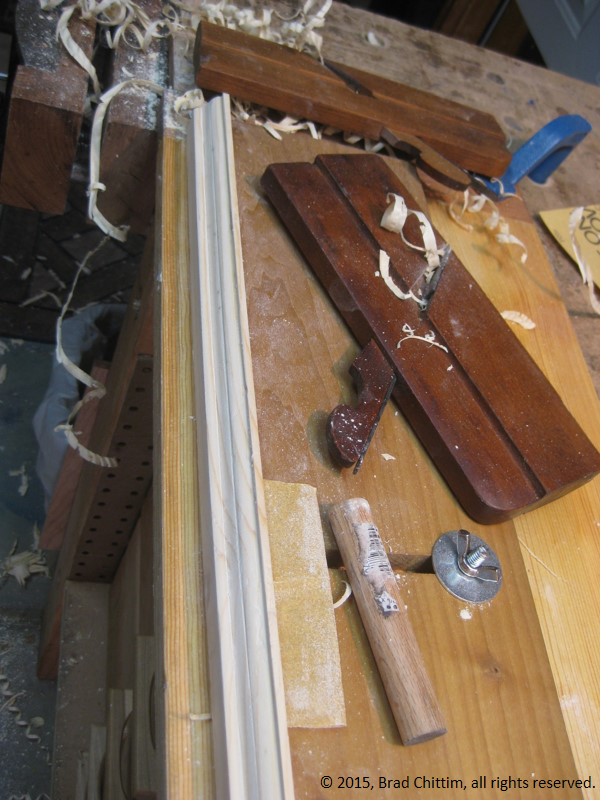
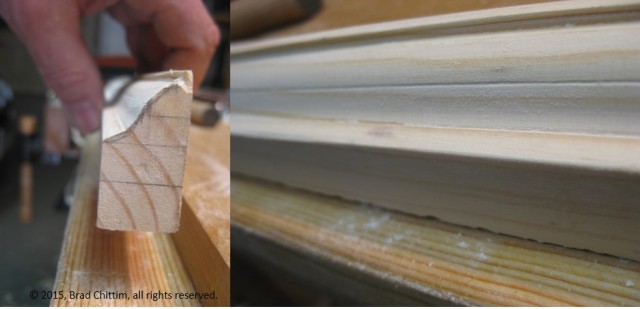
So instead, I used a roundover bit to create a similar profile.
The top of the baseboard piece was rounded over and the bottom of the moulding piece was chamfered.
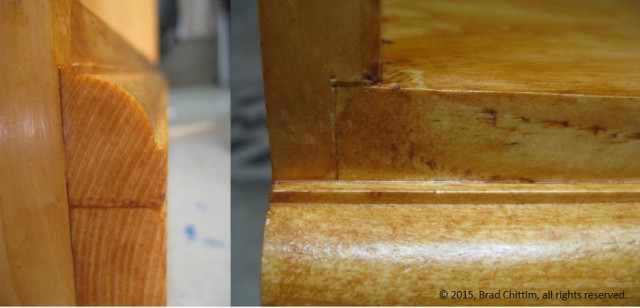
Finishing
Much to my surprise, Traditional Pecan stain provided the closest color match to the existing buffet.
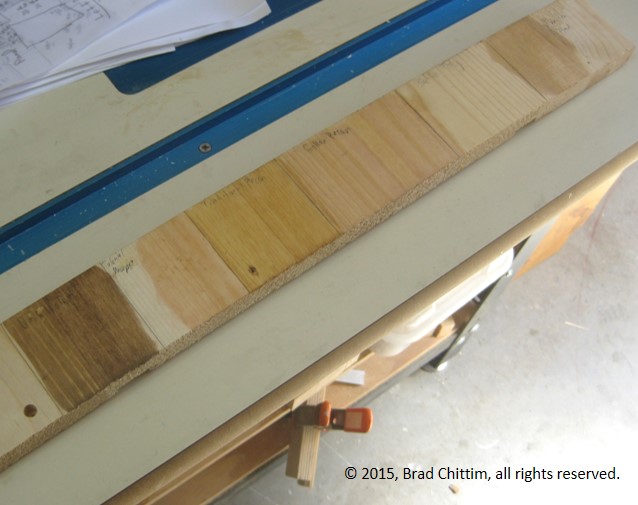
Two coats of spar urethane provide the semi-gloss sheen of its neighbor.
Hardware
I learned that the big-box stores don’t have much in the way of pleasing furniture hardware options. The closest I could find to the buffet’s hardware finish was statuary bronze. So I went to Amazon to track down:
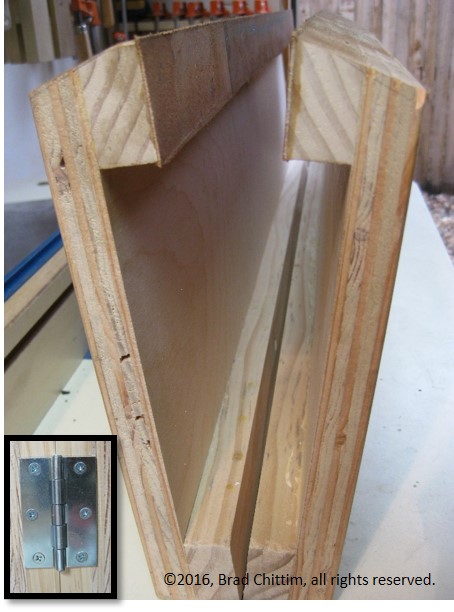
–Non-Mortise Hinge, 11/16″ x 2″ (Pair) (available through Woodcraft)
–Brainerd P22226V-STB-C7 32mm Domed Raised Panel Cabinet Hardware Knob
–Hickory Hardware P657-STB 1-Inch Catch, Statuary Bronze
Mounting door
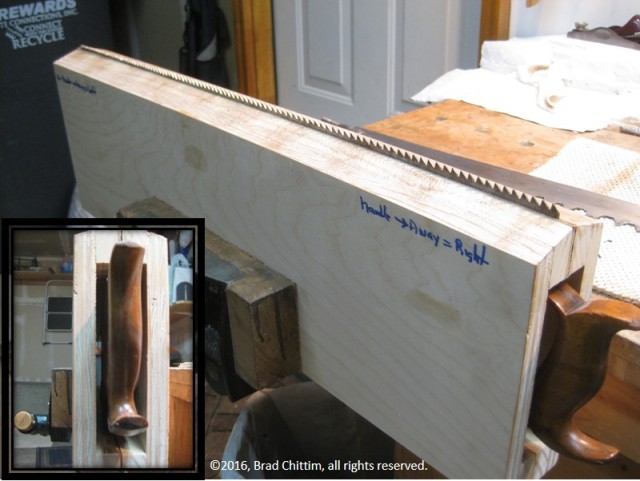
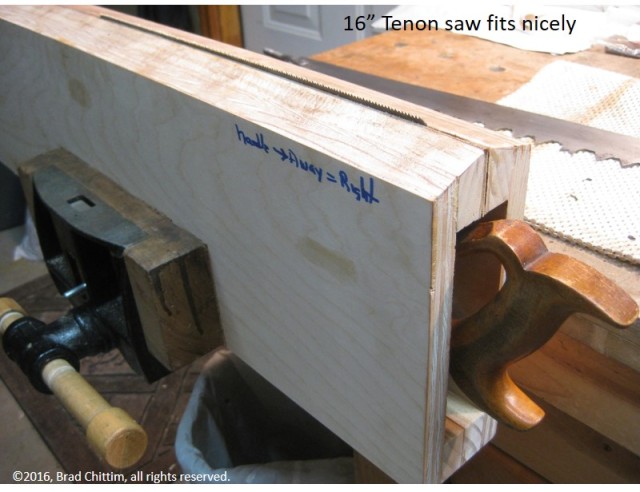
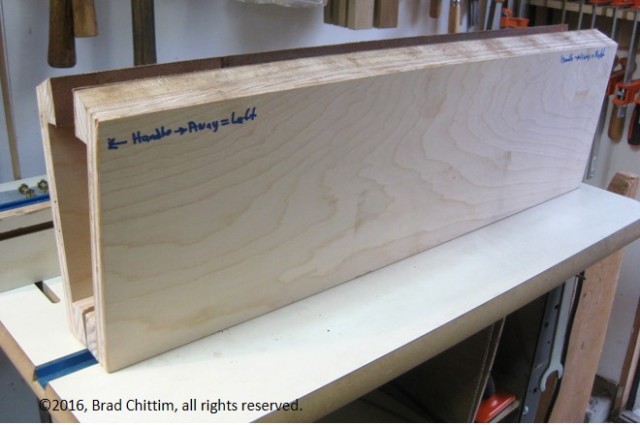
To make the door installation easy peasy, I cut a guide template ¼” thick, as wide as the thickness of the door (3/4”) and as long as the door.
From there I chose to mount the outer edges of the hinges 2 1/2” from each end, then held each hinge in place to mark the placement of all of the screws with an awl and drill pilot holes.
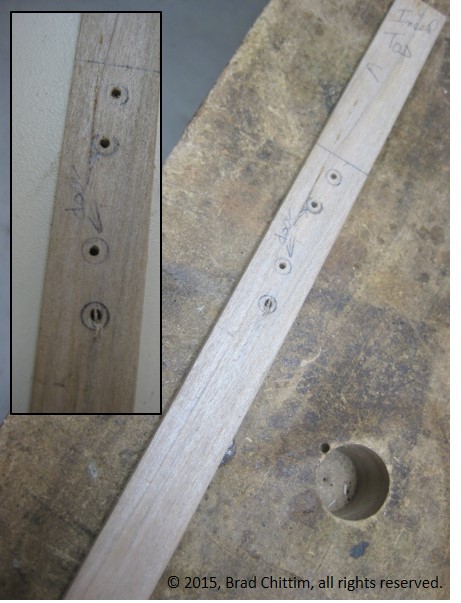
With the guide clamped to the door edge, it was a simple matter of drilling through the template pilot holes for the “door-edge” hinge holes.
Next, I placed a spacer between the guide and inside top of the cabinet to allow for clearance and clamped it to the inside edge of the carcass, flush with the side. Then I drilled the pilot holes for the “cabinet-side” of the hinges. This approach perfectly aligned everything.
At this point, it was ready to be used.
Stocking
Once the finish dried, I muscled the pantry into its new home and set about the pleasant task of stocking it.
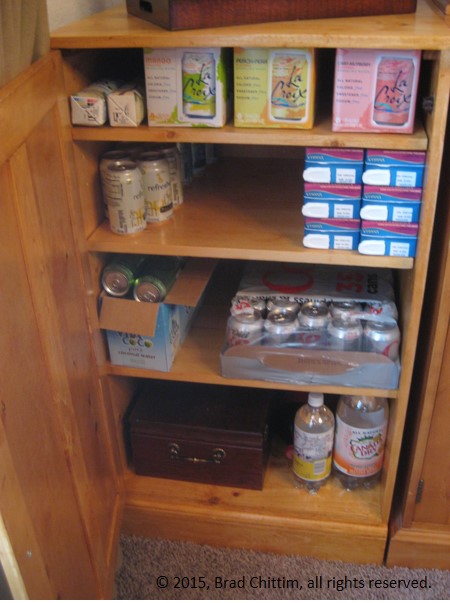
And decorating it.
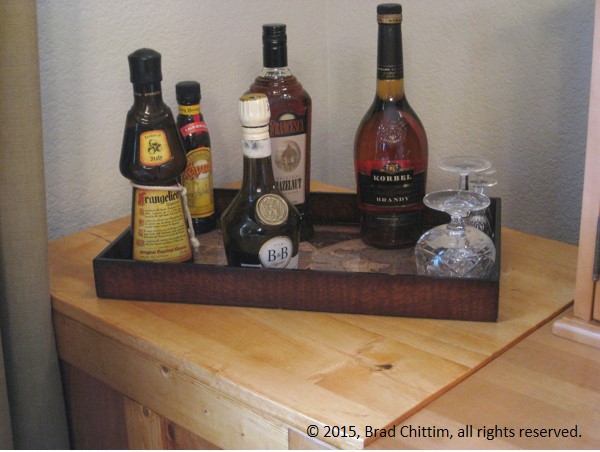
And today, whenever my lady walks past the tidy space, she smiles. She got an organized space and I got new woodworking skills.
© 2015, Brad Chittim, all rights reserved.